My Miniature Figure Basing Technique
Recently Stephen H. wrote to me asking me how I based my stands. I assume this was in regards to my “Tarleton’s Green Dragoons” post.
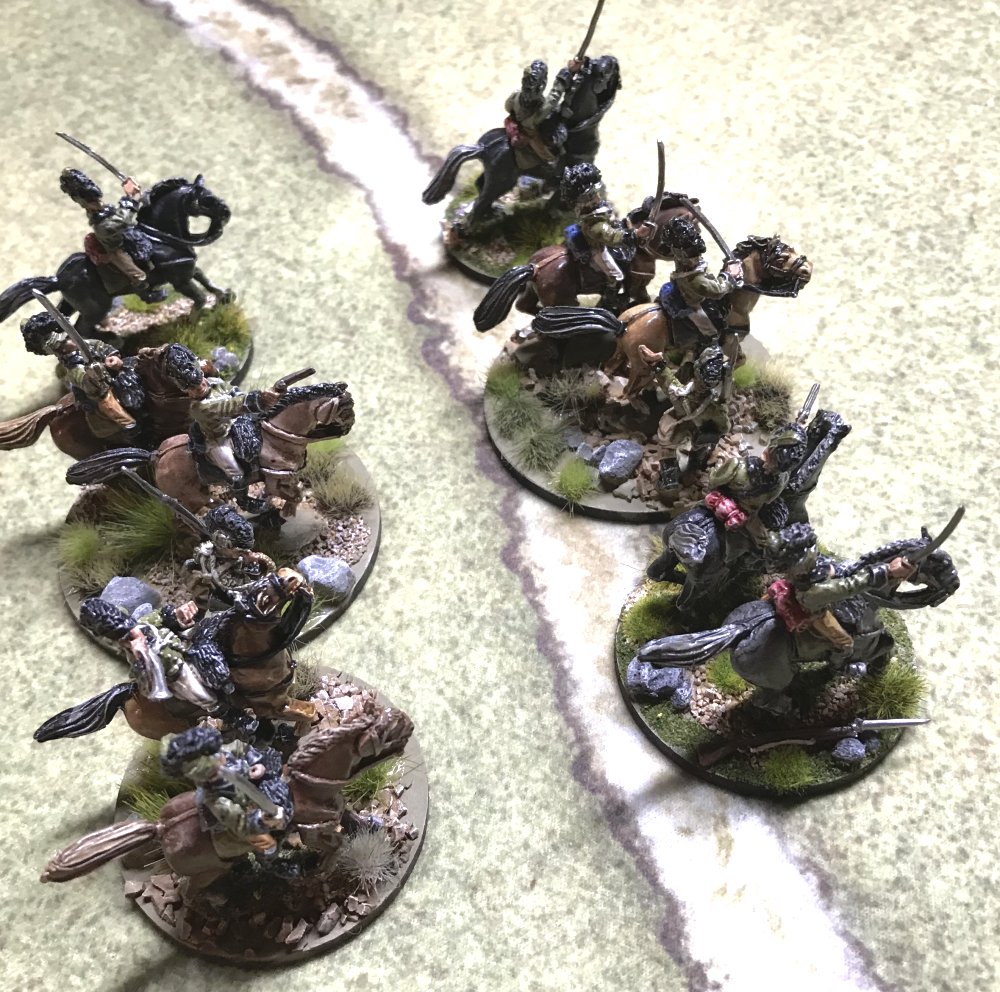
Basing My Green Dragoons
*
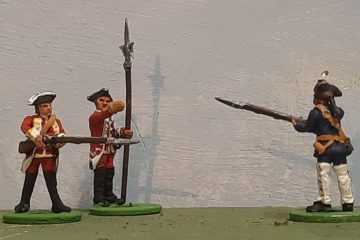
Tarletons Green Dragoons
*
Over the years I have had many types of techniques. Probably the one I used the longest was just plain flocking. I would paint the base green and then after it was dry apply a good wash of watered down white glue, put the base into a cigar box filled with Woodland Scenic’s T44 Burnt Grass. Click to see it!
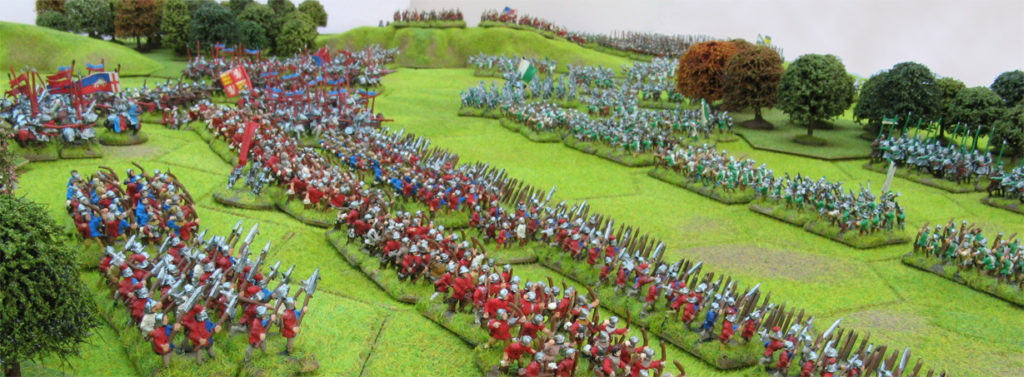
Kallistra Miniatures Flocking Example
Along the way I recall writing an article for Hal Thinglum’s magazine “Midwest Wargamers Newsletter“. I titled the article “Free Basing like the Brits” (a 90’s thing). In that period I was using spackling compound to fill in the area around the figure base. Once the spackle had dried I would wash it with a medium brown. When the wash had dried I used watered down white glue and flocked to taste (later I discovered I could add the paint right to the spackle before I applied it). The overall effect was pleasing to the eye.
*
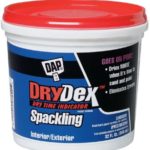
DAP Spackle Compound
*
Over the years however my troops tended to develop different looks because my technique was varying along the way due to the paints and flocking I used. To me it wasn’t a very satisfying look on the table.
“Don’t Terrain Your Bases” – I Read?
Years later I read an article on this subject in Miniature Wargames Magazine about basing your troops with no flocking or scenery. The point of the article was that by doing this you created a consistent look across the table. Hence the troop stands stopped standing out as not matching each other.
I read that article dozens of times and decided it made sense to me and that I would try it on my future collections. As I created new armies I based them that way, just plain simple green painted bases that matched my table top or cloth.
Gallery of painted bases below. The miniatures are 40mm Sash and Sabre from old Glory 25s and Sash and Saber.
*
[ngg src=”galleries” ids=”7″ display=”basic_thumbnail” thumbnail_crop=”0″]*
I recall one year at Cold Wars my friend Nat St. John coming up to me and asking how I got my table to look so good. I pointed out the plain colored bases and also the fact that I black edged my stands with a black sharpie. He liked it so much that he redid his 15mm American Civil War army in the same manner to help promote his new rules of the same period.
Black edges make the base pop off the table
*
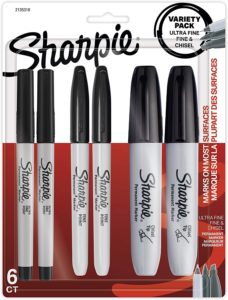
Multi Tipped sharpies
*
I used to paint the edge of my bases black, then I moved on to Testers Paint Pens and finally settled on the black Sharpies. The wide tipped ones work really great.
Terraining bases in the 21st century
Fast forward to today. I decided to paint up a new 28mm American Revolutionary War army to help promote my Light Bob’s rules for that period. I decided to go with 28mm scale using mostly Perry 28mm troops. I had started off using 40mm sized troops but I felt convention gamers just didn’t take Light Bobs seriously because I was using that 40mm scale (my 40mm troops were all plain based). As I started basing the new 28mm figures I went with the three, two, one base system used by Lion Rampant and decided I would try my hand at terraining my bases.
*
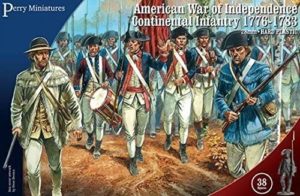
Perry Continental Soldiers
*
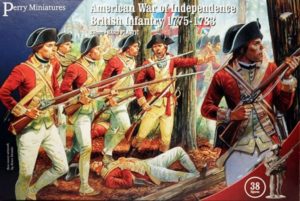
Perry British Soldiers
*
Below is a gallery of my American Revolutionary War 28mm terrained bases.
*
[ngg src=”galleries” ids=”9″ display=”basic_thumbnail” thumbnail_crop=”0″]*
My Medievals join the fray
I was also starting to upgrade my medieval army for Day of Battle over to plastic. As I painted up new bases I sold off the older metal bases. I quite liked the effect terraining had on my American Revolution project so decided to try on my new medieval army. See the gallery images below.
*
[ngg src=”galleries” ids=”8″ display=”basic_thumbnail” thumbnail_crop=”0″]*
My basing method goes to “11”
- I glue the miniatures to the base and then paint the entire base green.
- I tastefully glue small patches of ballast on the base.
- Once dry I paint over the ballast with a very light, almost desert sand brown.
- When dry I wash the sandy area with a watered down medium brown wash.
- When really dry I dry brush the sand white. This really makes it pop.
- I then take small gray ballast stones and glue them on again using taste. A few go along way. you can also split them with a pair of wire cutters.
- Once glued down paint them medium gray.
- Dry brush the stones white.
- Clean up the base with your green base color paint . Fill in the green paint to cover all the brush and glue slips you made.
- Finally I add small bits of Tufts to the base. I use the new type of tufts that comes in sheets of dots with an adhesive back. I do give them a touch of glue on the back to keep them from falling off.
- Using a sharpie I black edge the base.
*

Army Painter Tufts
*
Bingo that is it. If you always use the same colored paints your bases will keep that consistent look you want on your table top.
As you can see I now use both types of technique. I think my 40mm collection will always stay plain. To me this scale is as close as I can get to the traditional “Toy Soldier” look of the early days of wargames, when giants like Donald Feathersone, Peter Cushing and others blazed the path for the rest of us.
I hope you enjoyed this article and the pictures.
Chris Parker
Woodland Scenic’s Gray Blend Medium Ballast Link
Perry Miniatures 28mm American War of Independence Links
Lion Rampant from Osprey Games Link
Lion Rampant – 1,2,3 Basing Link
(note – I earn a small commission if you use any Amazon link, thank you)
Views: 723