12mm WWII for D-Day to Berlin
When I got back a few weeks ago from Carnage Con 27 in Killington Vt. I decided to stop all of my painting and to finish up and organize the three eras that I game. They are WWII with D-Day to Berlin. The Seven Years War with Twilight of the Soldier Kings and The American Revolution using Liver Free or Die.
I chose D-Day to Berlin first as I had put a lot of effort into painting up the troops needed for for Omaha and Utah beaches scenario that I ran at Carnage (thanks to Ken for stepping in). I had decided prior to the convention to go totally 12mm. I can print the armor and vehicles in 12mm no problem but though I tried very hard to get good looking printed infantry but I wasn’t happy so I bought 12mm miniatures from Victrix. I purchased nearly all of the from The Hobby Bunker in Wakefield MA. A great shop with a very interesting history starting out as Excalibur hobbies in Arlington Mass back in I think the 1970’s.
Well back to my troops. I picked up one pack when I stopped by and after painting them I decided to commit and placed a mail order to them online. Yes I can drive there in an hour but I was to busy. They got the order to me in just a few days and shipping was very reasonable. The other major point is Matt (the owner) doesn’t mark them up like so many places 🙂
So with troops in hand I got to work. I decided early on it would be easier to paint the figures on the sprue rather than clip them off and place them on painting boards. I even went so far as to try basing them and then painting them but this was to fidgety. So off I went. They painted up quickly and as they are so small I was able to do a lot of slapchop painting using Army Painter speed paints (tip – only use the 2.0 versions).
Once painted I based them up. I decided on a new base which was 25mm x 60mm. Previously I had used 30mm x 50mm which are Flames of War base size. I mounted most of the vehicles on a 30mm by 50mm base. Command stands are on 25mm round bases.
Next I organized what I had painted into divisions. By doing this I knew what I needed to print for vehicles and guns and paint for ground troops. I am nearly completed. I have a Panzer Grenadier XX and a second Tank XX to finish up. I should mention I did the US first and they are done.
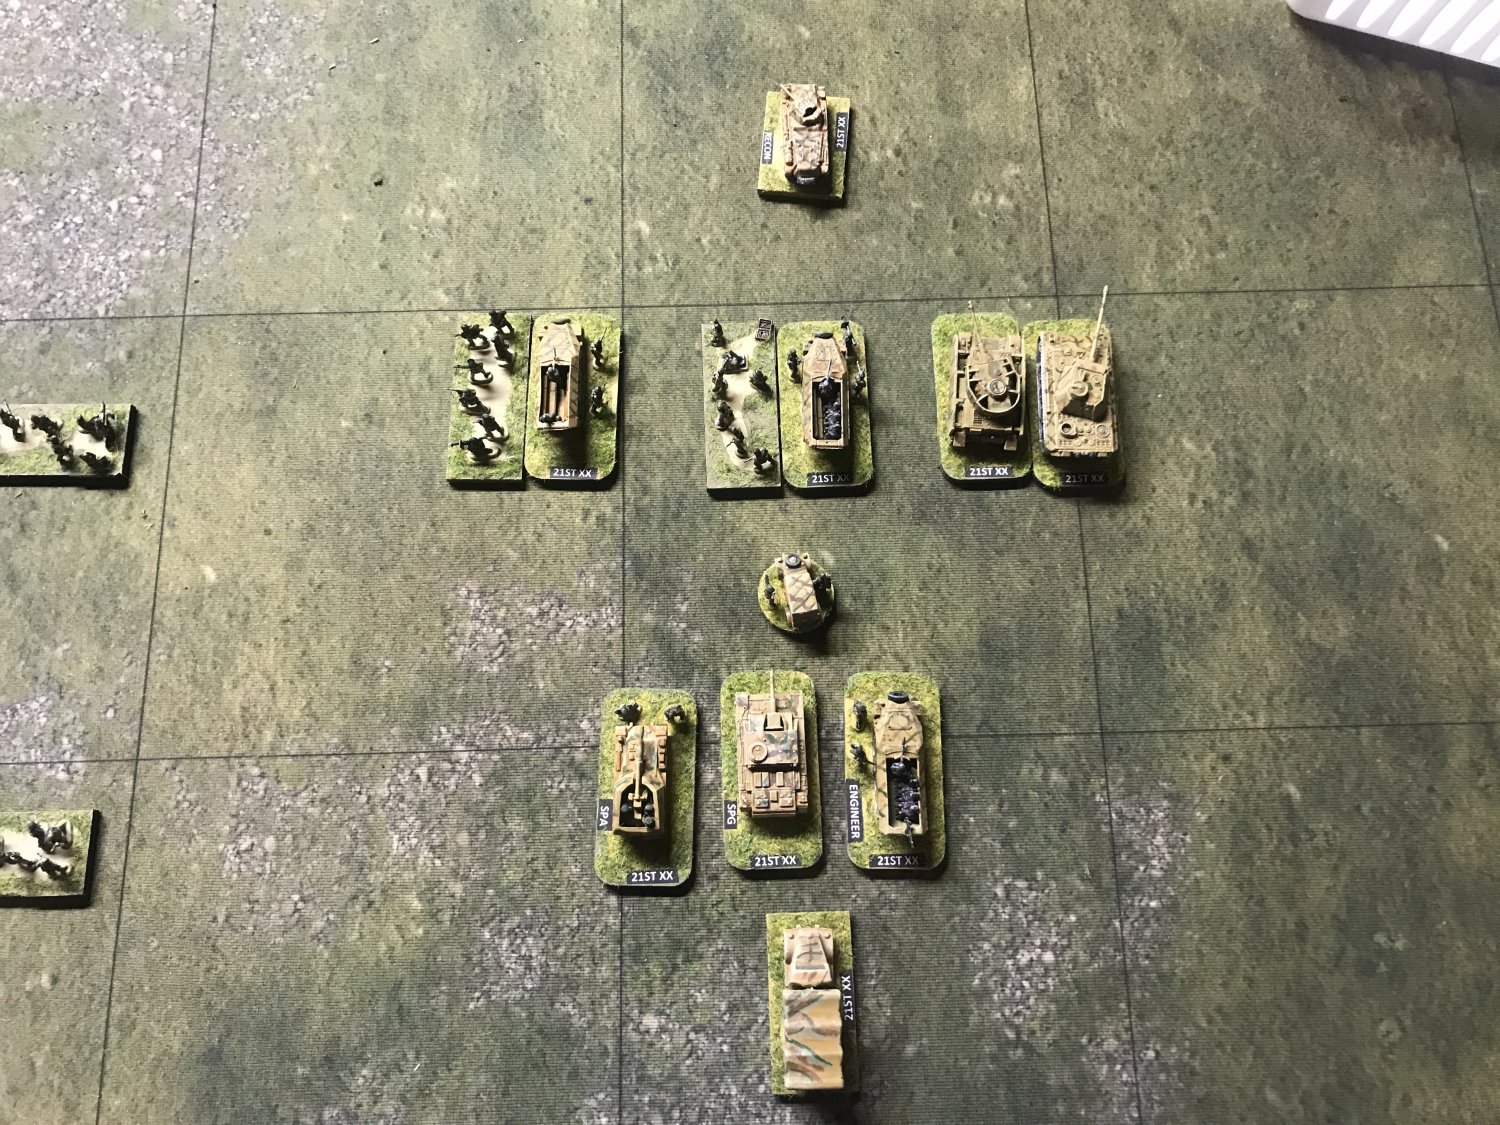
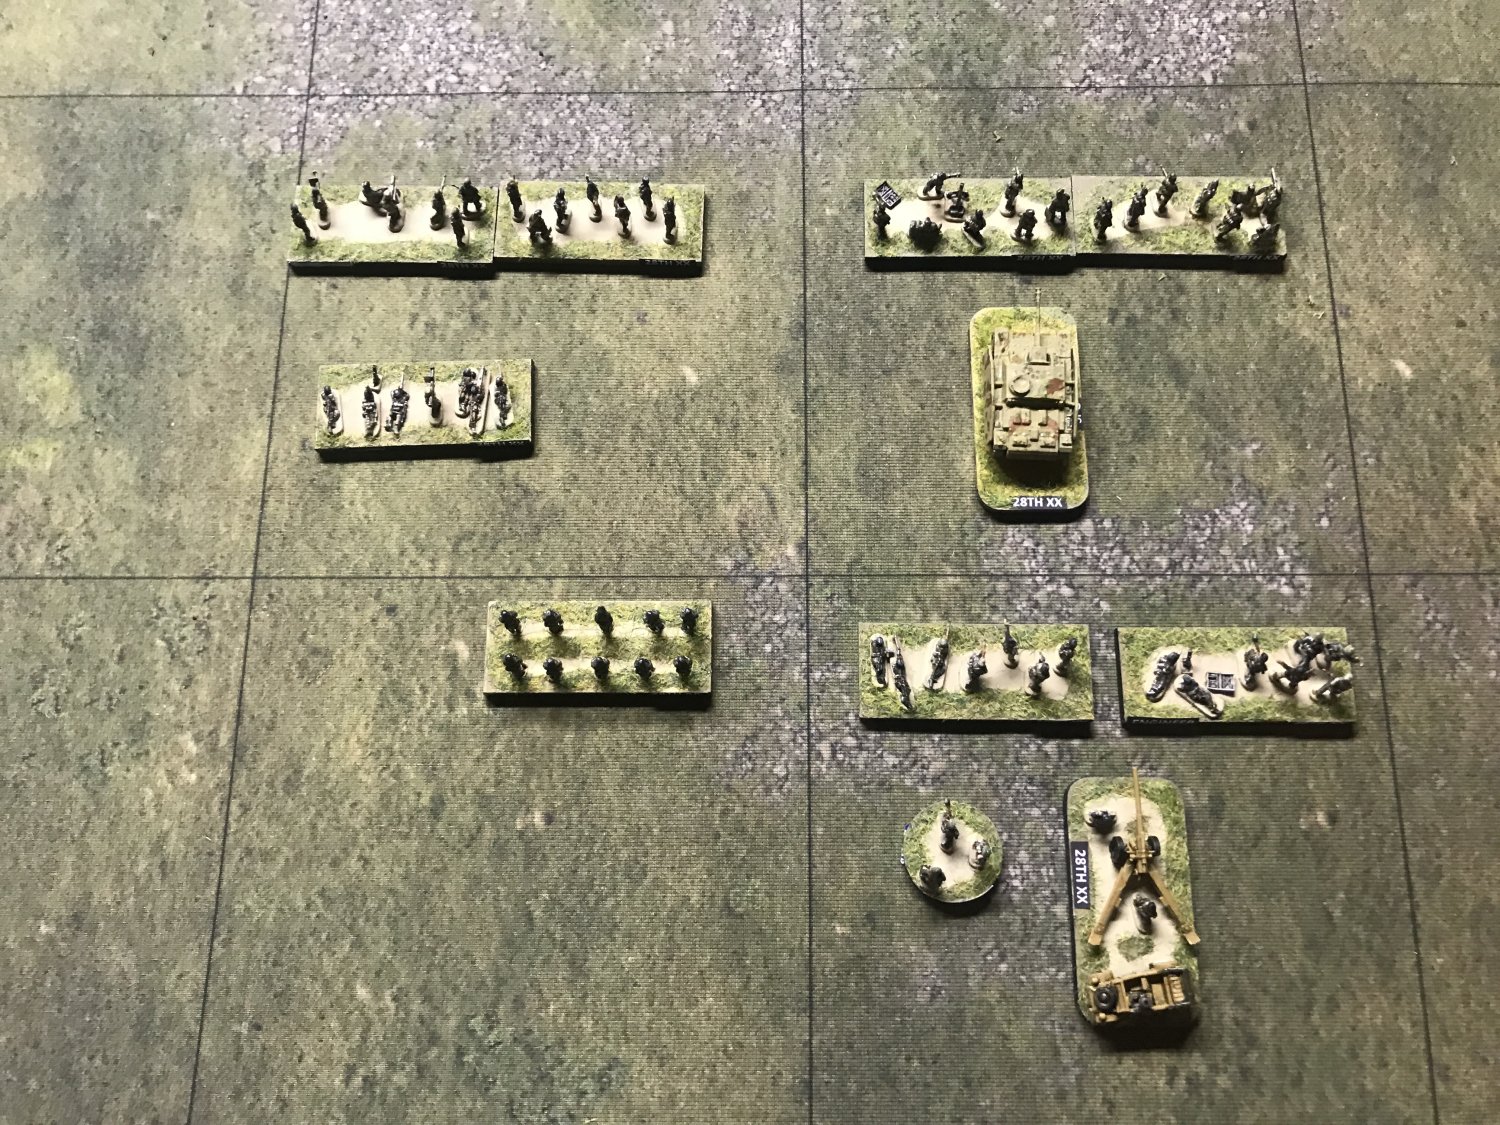
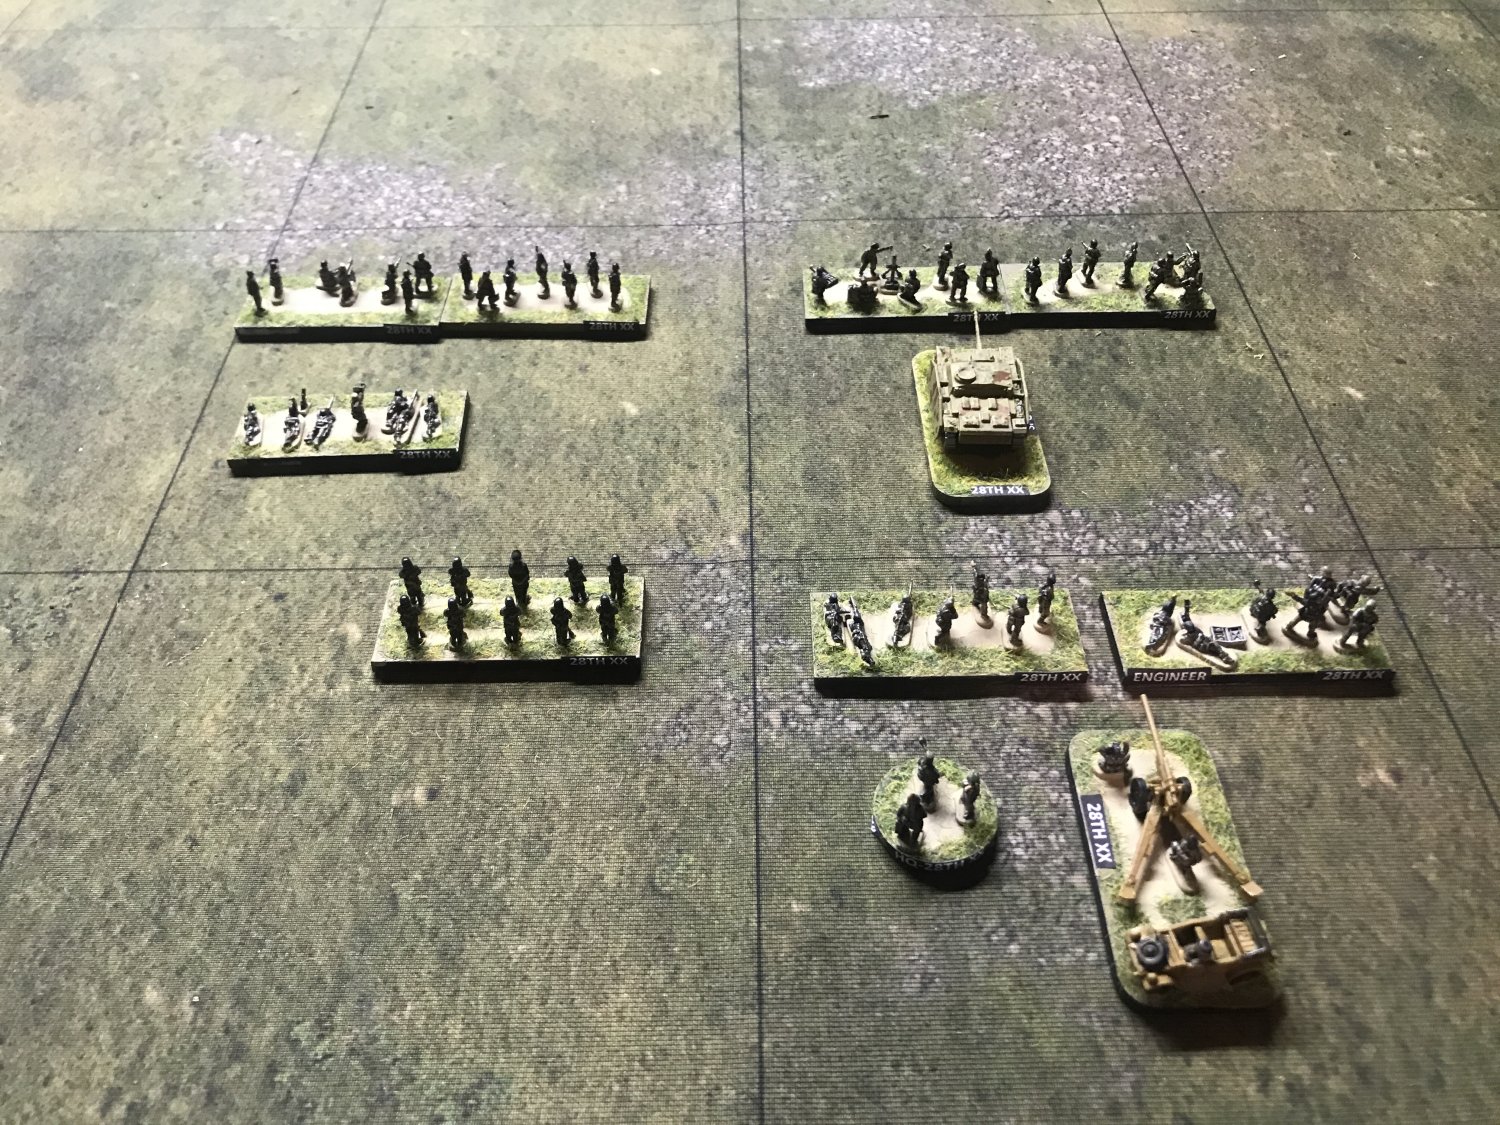
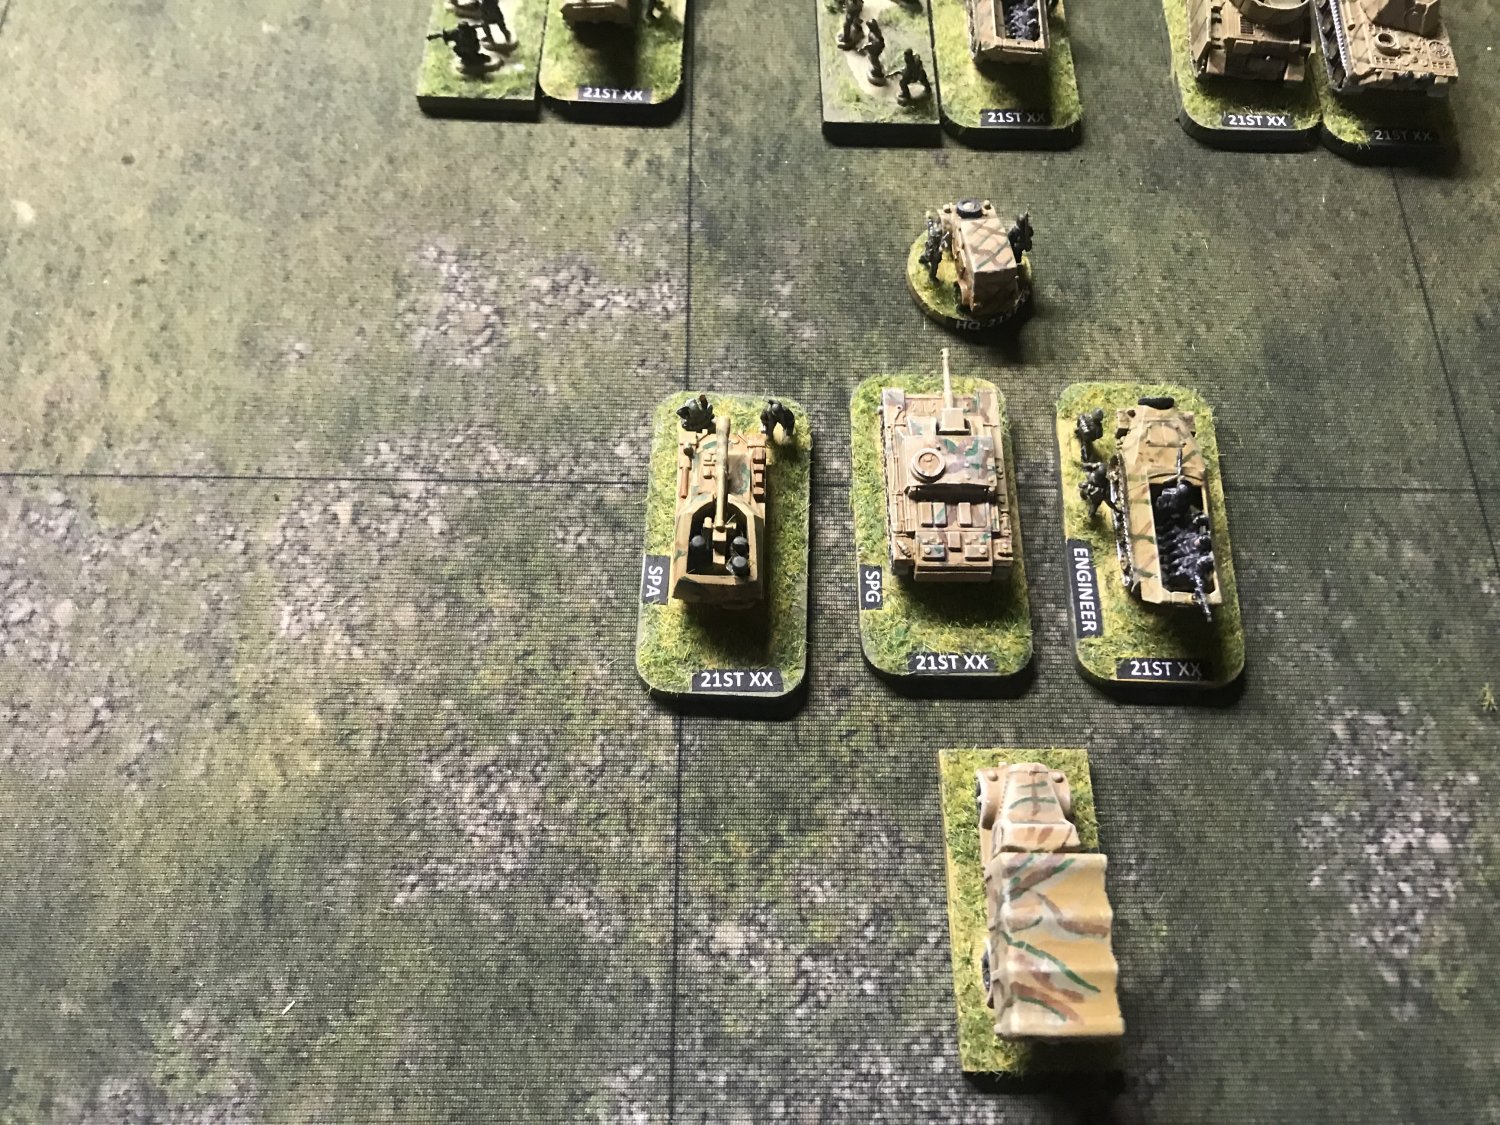
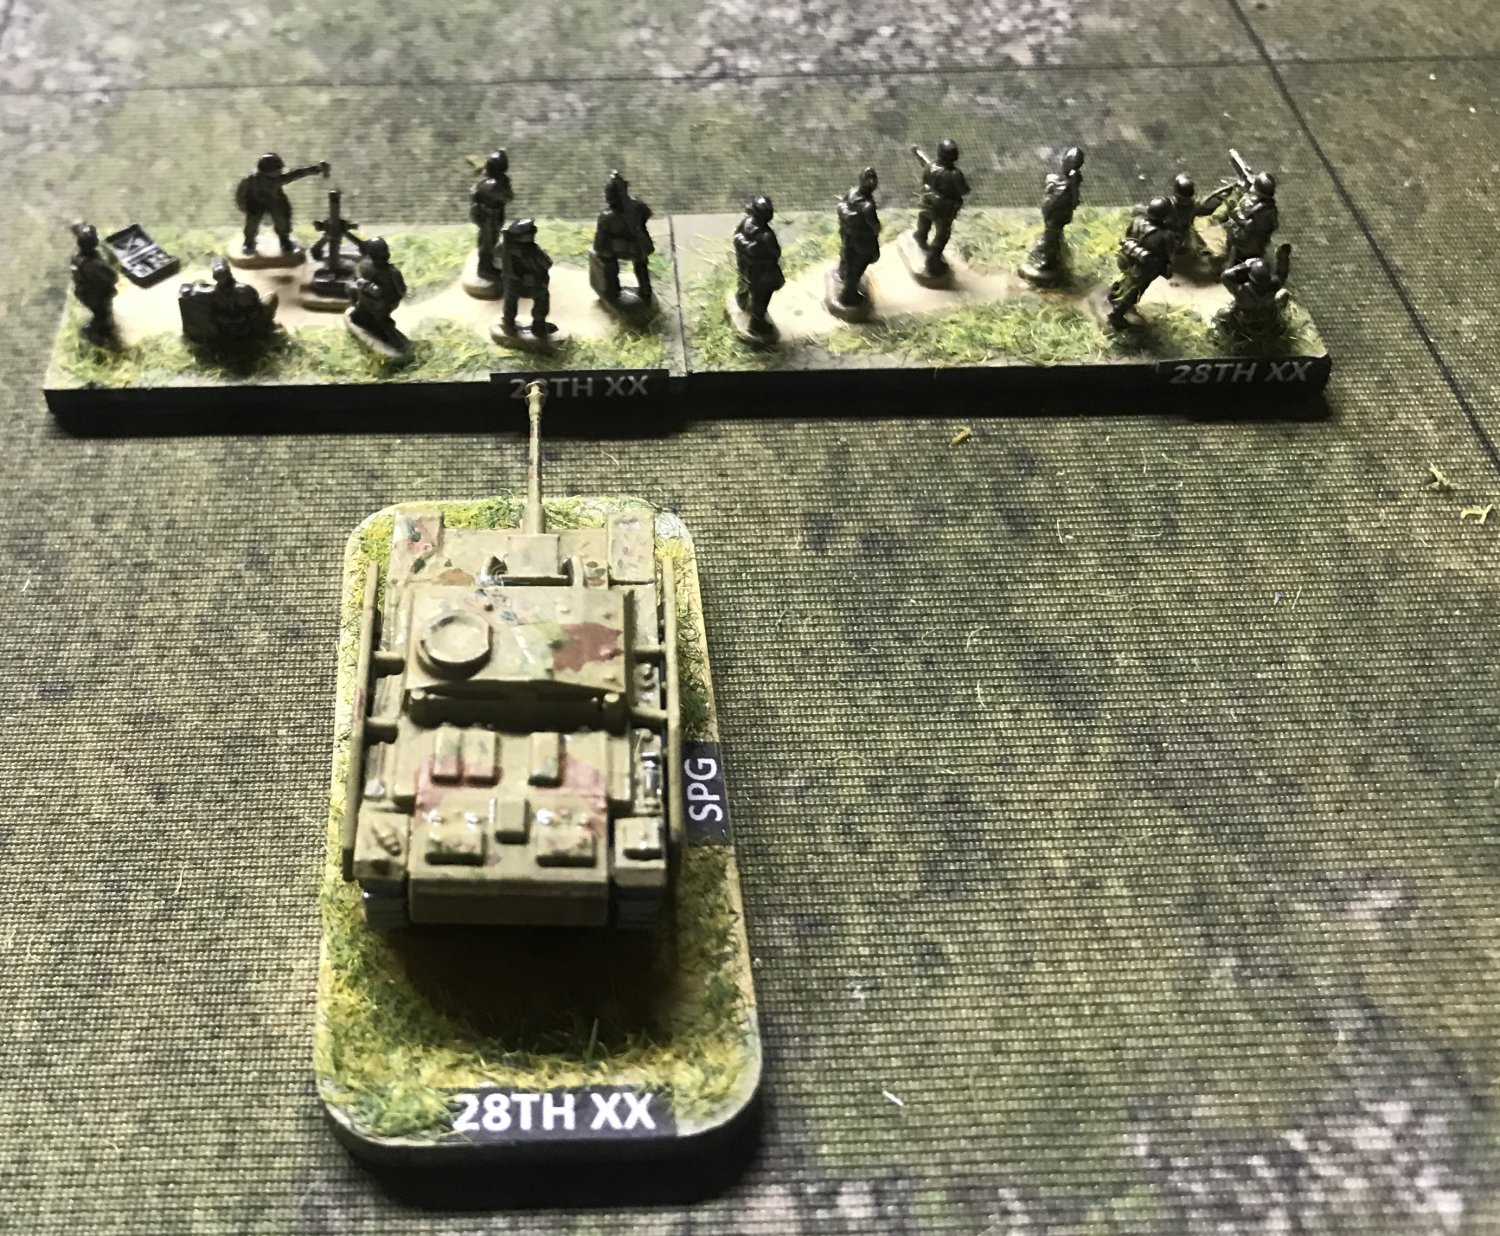
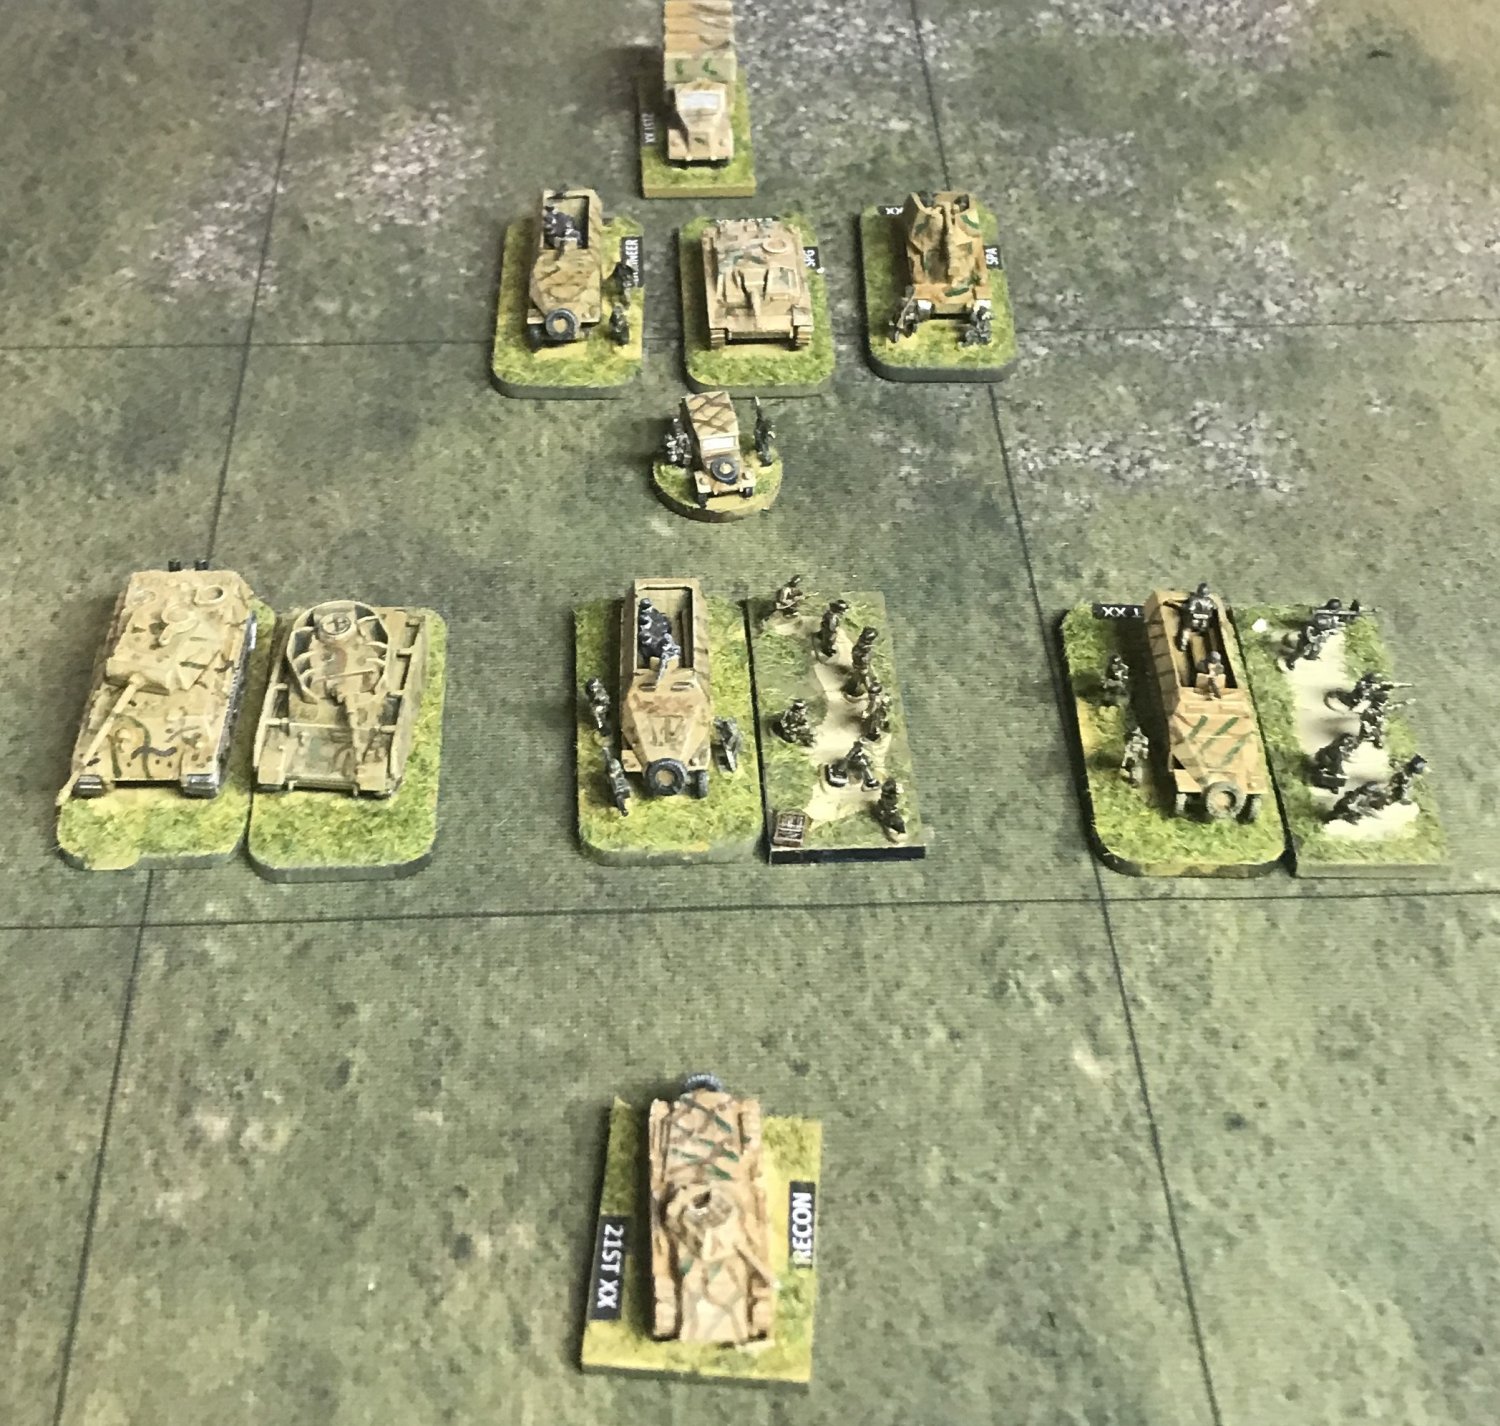
Once based I applied labels on vehicles to note if the stand is SPG, SPA, Recon etc. Finally every base had a division number followed by XX. This will help players know exactly what units they have in their division and what they are.
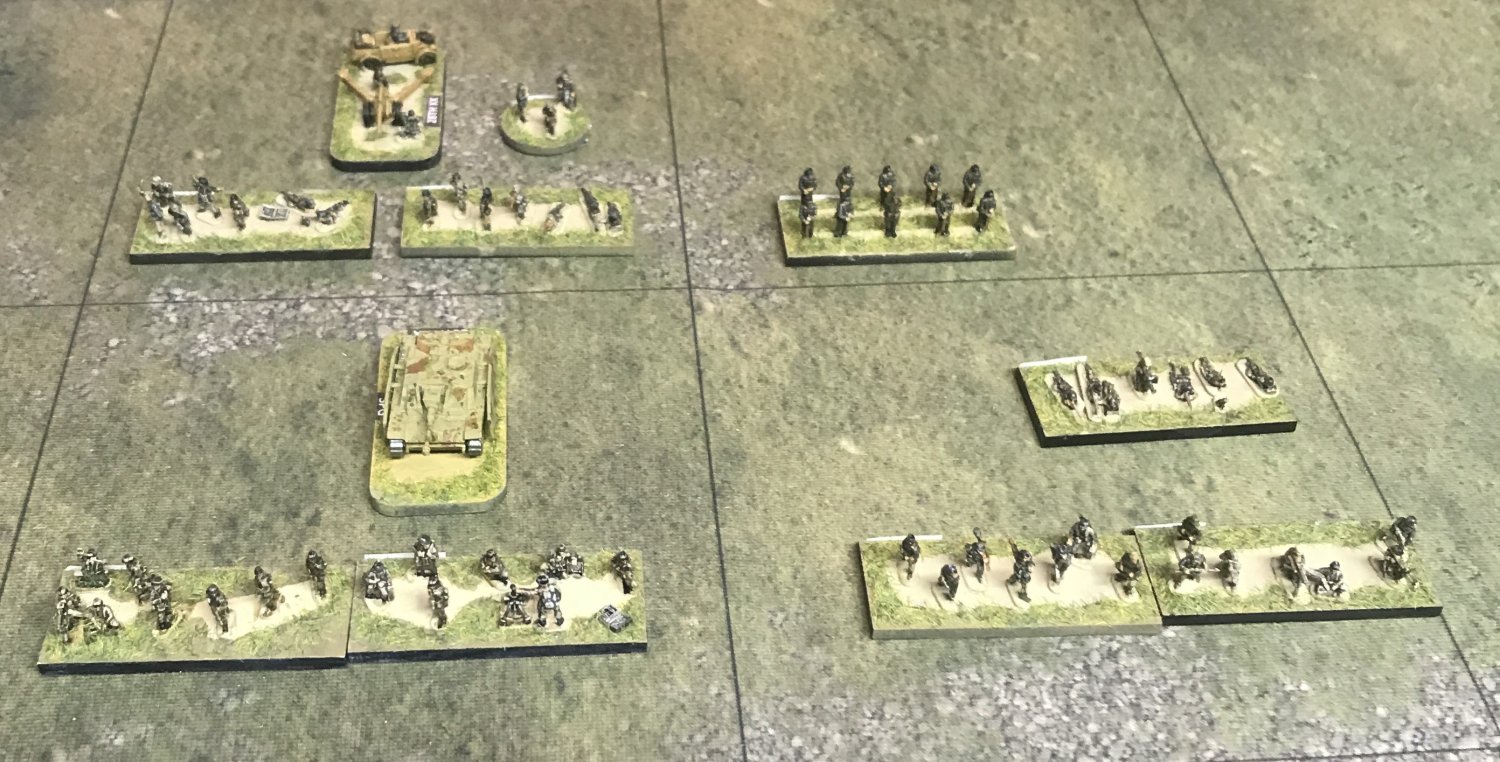
The following slide show shows an Infantry XX and a Tank XX laid out. I’m not sure how I am going to deal with the motorized infantry in the Tank XX. For now I am using infantry stands and placing a truck next to the Division Command stand to remind the player the infantry are motorized. I may however replace the infantry stands with open back trucks with infantry in them showing they are motorized.
So I hope you enjoy this article. Next up will be my SYW project completion.
Visits: 106